Tips and Tricks: How to Use Clipart to Create Speech Activities

how to use clipart

Have you ever had a student with a specific interest and you wished you had the perfect activity for them? Or needed a specific resource type to work for a mixed group?

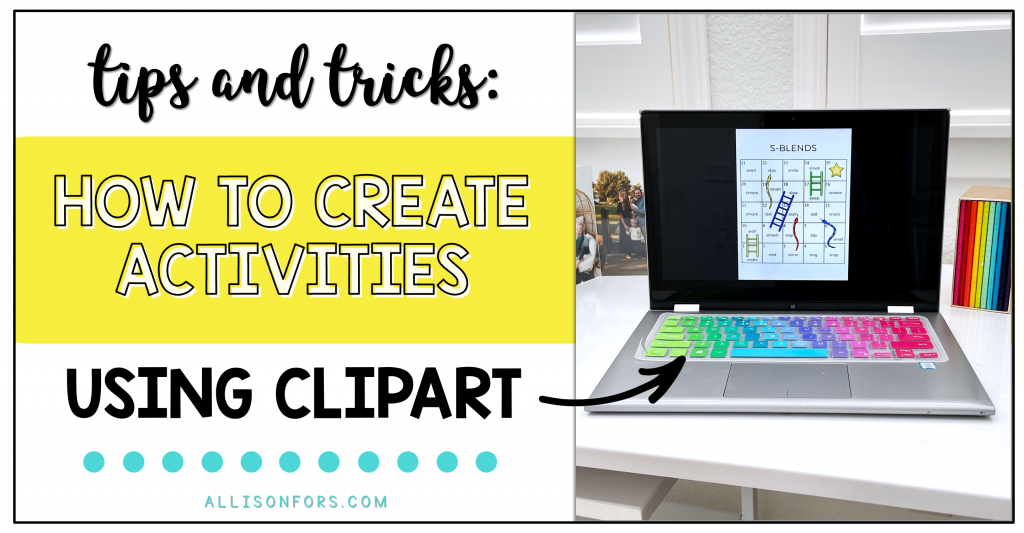
I think we’ve all been in a situation where we want to quickly create something for a particular student or group. I have some tips on the simplest way to create a resource!

How to use clipart to create activities for your students:

  1. Use PowerPoint
    PowerPoint gives you the flexibility to place images and text boxes freely. Trust me on this one – don’t use Word! You can create whatever size page you want in PowerPoint (I usually do 8.5 x 11). Be sure to leave a margin around the edges so the pages don’t get cut off when you print.

  2. Copy and paste the images you want into the document
    Find the images or graphics you want to you use in your document. Copy/paste or drag them onto the PowerPoint page.

  3. Resize and drag to the desired positions
    Select the image and drag the corners smaller or larger to create the size you desire. Right click the image to input a specific size, or use the crop tool. You can also add a border or shadow under the “format picture” settings.

  4. Align, group, or position images/text in front of or behind each other
    PowerPoint has lots of features to help you easily manipulate, layer, and move images/text. Some of my most used functions are align, group, and moving an image forward or back. You can find these settings under the “home” tab and go to “arrange.” The options include: “reorder objects”, “group objects”, and “position objects” (align and rotate). You can select multiple images, right click, and then group them together. Some of these settings are available by right clicking the image.

  5. Add text boxes or objects
    Find the “text box” option under the home tab. Type in your speech-language targets and change the font, size, color in the font settings.

Watch this video of the step-by-step process!

Tip:

Sending the file to someone and want to make sure the formatting and fonts stay the same? Save as a PDF instead of sending the PowerPoint file!

Keep in mind:

Unless you’ve bought commercial licenses for the clipart, fonts, and programs you are using you are not allowed to sell what you create.

Looking for clipart?

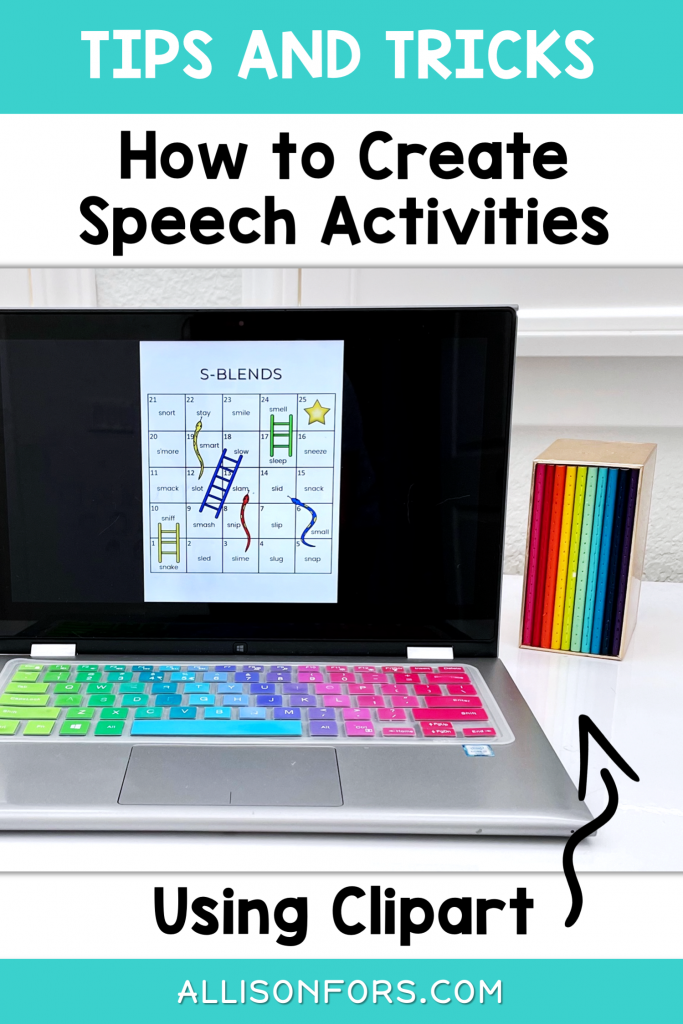
I receive questions on how to use clipart to make resources since I create educational clipart! I began making it to use in my resources and started selling them for other teachers to use in their educational materials.

The images I create are functional and versatile. They are appropriate for both older and younger students, and are intentionally made to be useful in teaching language concepts and life skills.

Find free clipart images in my password-protected freebie library.

I hope this clipart tutorial to create your own resources was helpful! Leave your questions below.


Leave a Reply

Your email address will not be published. Required fields are marked *

You Also Might Like...